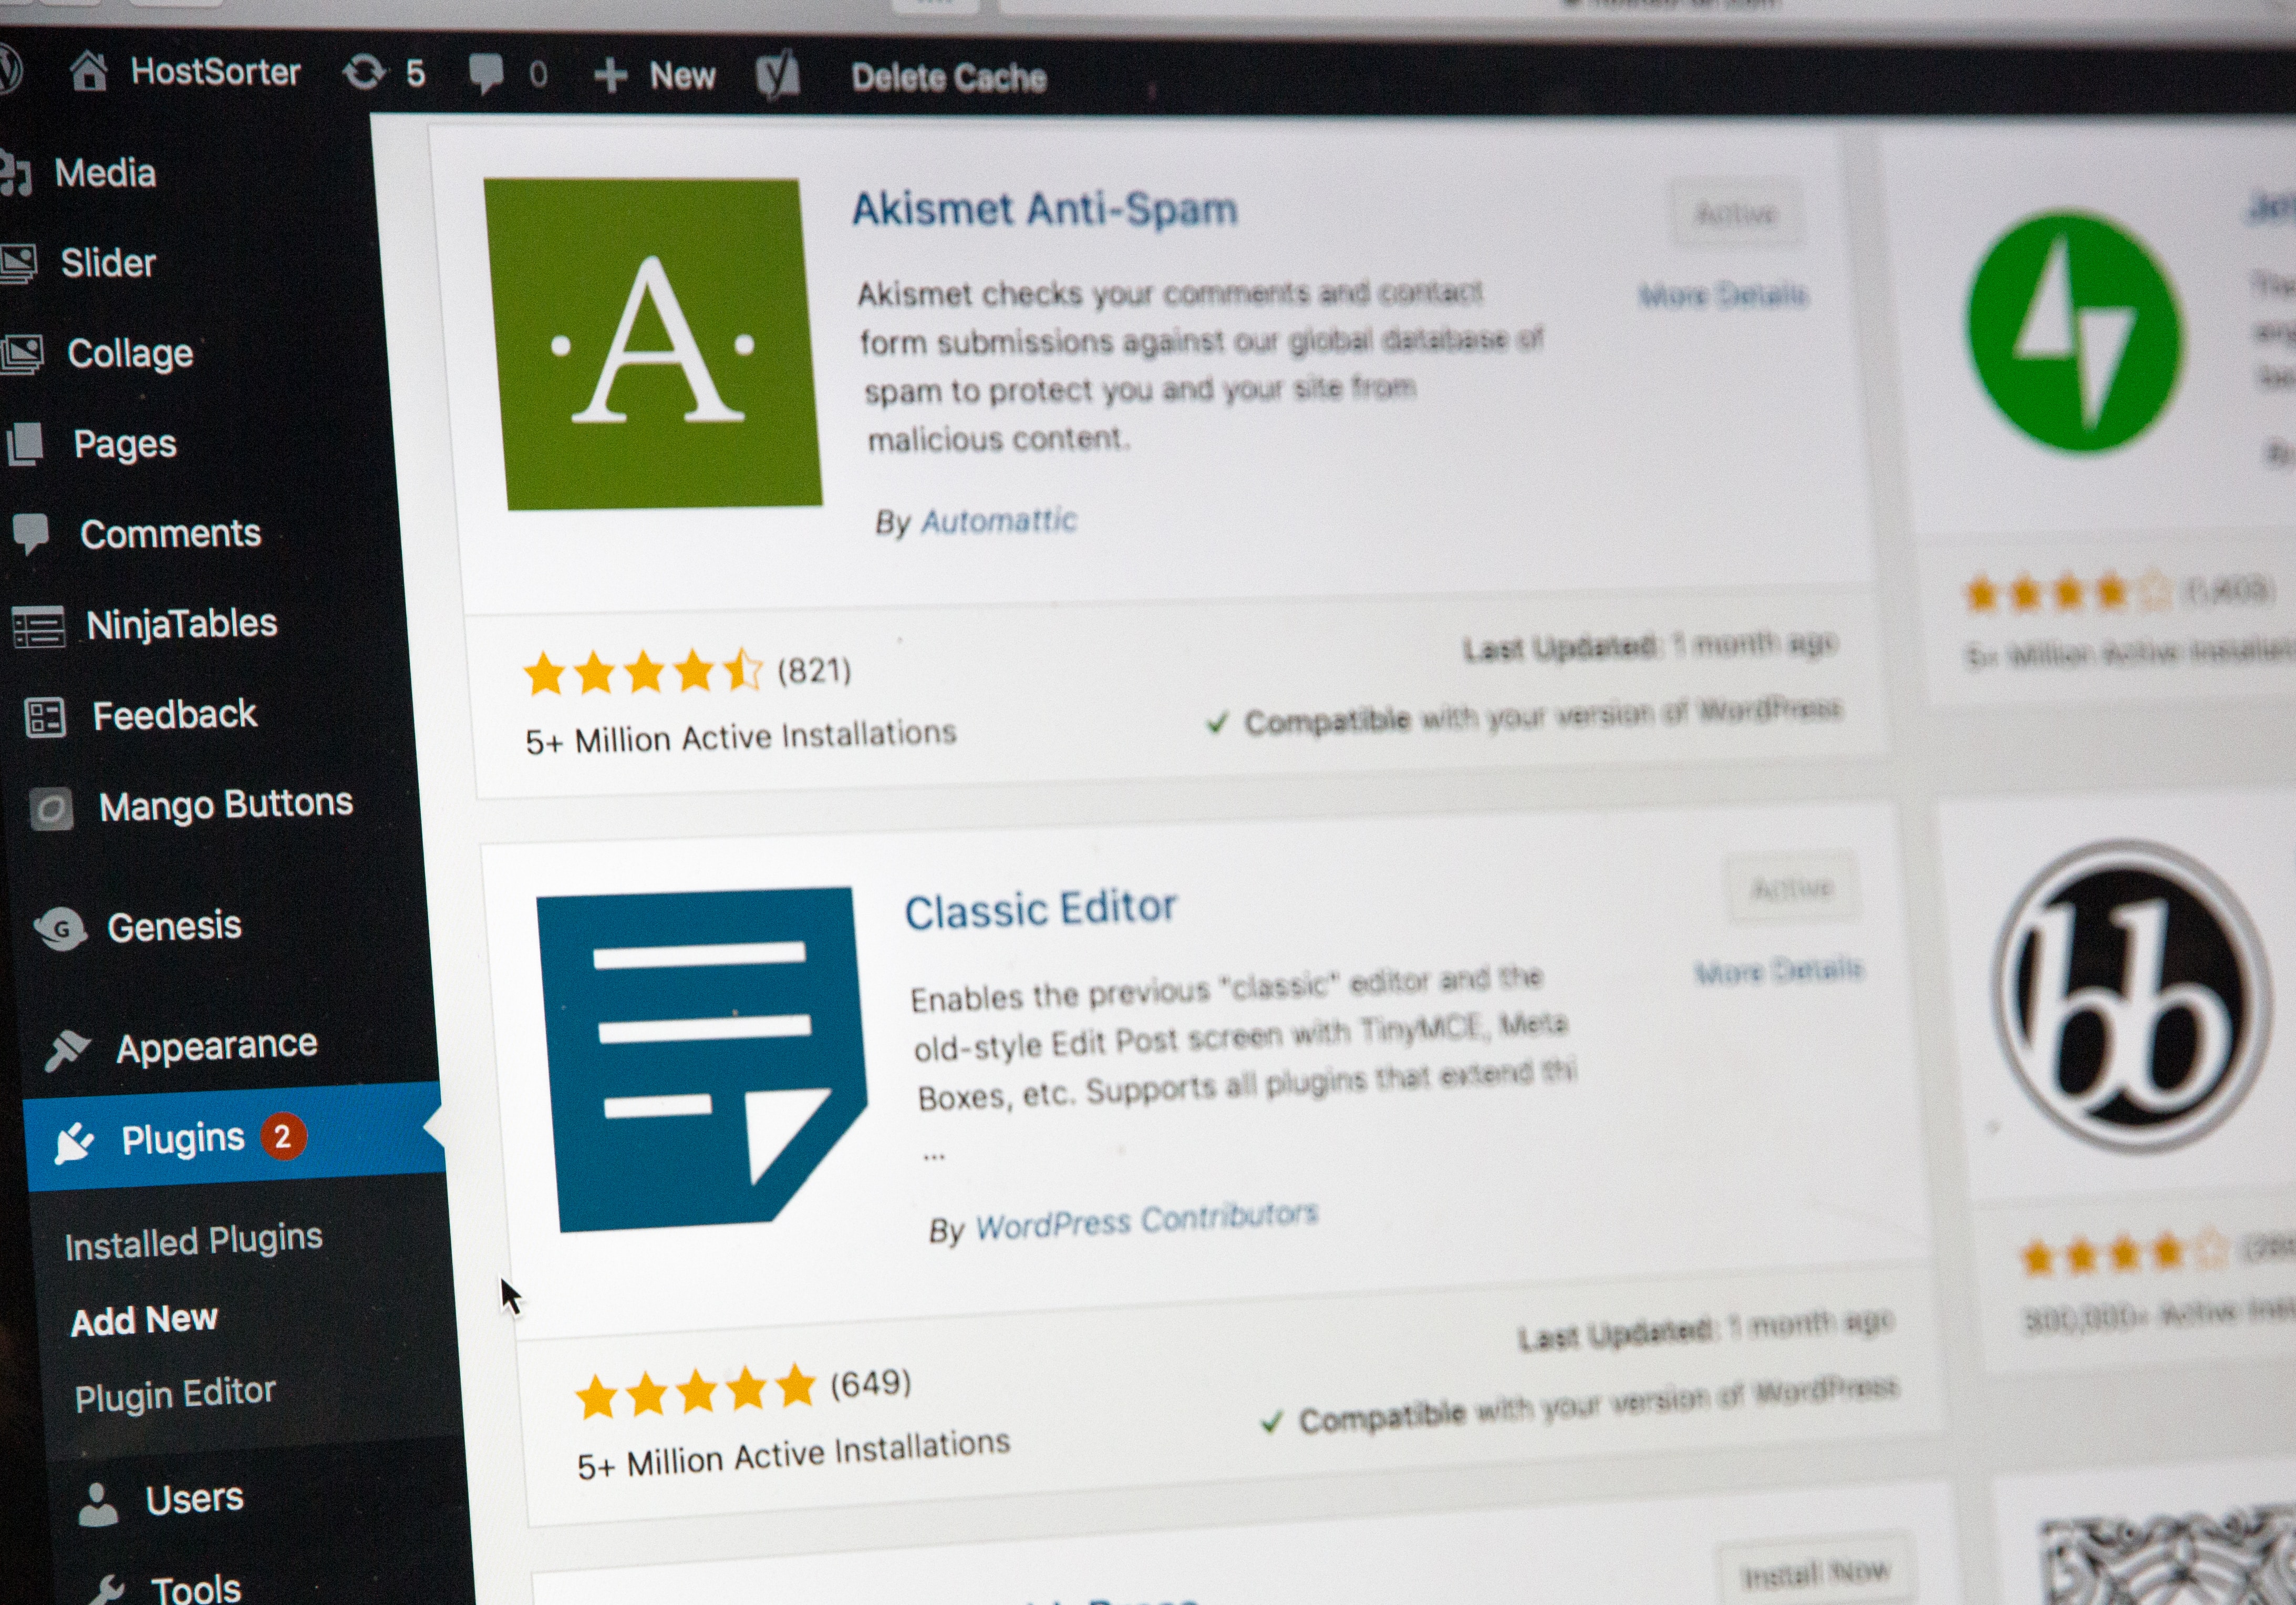
The starting point is our WordPress Admin, Dashboard, Select Products and choose Add New from the menu: If this is your very First time, adding products after you installed WooCommerce you’ll see helpful tips along the way.
You won’t see them in this demo, because this isn’t my first product, but don’t worry I’ll, tell You what you need to know The first thing we wan na do Is give our product a name? This is what your customers Will see in your store We’re going to add our glow In the dark dog collar Now we need to enter A product description Describe your product in detail. You can use the formatting Bar here, if you want The next thing you wan na, do Is choose your product type Simple product is the most common and it’s used to showcase A single good or service Grouped products are for grouping several simple products into one.

You would use this to create a bundle, External or affiliate product lists and describes a product in your store, but the sale is made elsewhere. Variable is for more complex products, such as T-shirts with Multiple sizes or colors We’ll leave ours as simple product. If the product, your Adding is digital content like an ebook, PDF article or audio file check the Virtual box. These products don’t need shipping, so you’ll notice.

The Shipping option disappear If your virtual product is going to give the customer a downloadable file then make sure to check The Downloadable box Notice how more fields appear. This is where you would Add you downloadable file along with any extra details. We wan na make sure that Both boxes are unchecked because we want to add a physical product. Let’s give our product a price, Let’s charge $ 15 for our dog collar, We’re ready to add a short description.
This will appear below the Product name on the store: Now, let’s add an image, I’m going to use a stock photo, but I encourage you to use Your own product image, It’ll just take me a moment. To find the one I want There, we go. I like this one When you select an image complete the ATTACHMENT DETAILS, box Alt text is what readers use when they can’t see what an image is. The other fields help describe.

What the image is about, and it can even help with your SEO When you’re done click set product image. The next step is to enter product tags. You can enter your own or Choose from the most used tags Tags will make it easier for customers to find your products. This is where you can Assign product categories we’re going to skip it for now, but it’s as easy as choosing The add new category link, As you start to add, More and more products, it’s a good idea to do that as it helps keep your site organized Now.
We’re ready to preview our site. The glow in the dark collar, looks good but notice how the shop page Is inaccessible from our menu? Let’s go: publish our product, And then I’ll show you how to add the menu, if Yours is missing too, To go back to the product click edit product from the header. Let’s publish our product Now, let’s go add the Shop page to our menu From the left, pane choose Appearance and Menu, The left side shows the Pages that are available Check the Shop Page and click The Add to the Menu button Notice how the Shop Page now shows in the menu Options on the right: Let’s go back and check out our site, Go to the site name in the Upper left corner of the toolbar and choose Visit Site, The Shop page displays in the menu, Let’s go check it out And that’s how you add your Shop page to your menu Return to your Admin, Dashboard To continue making changes or adding new products, Thank you so much for showing Us how that is done, Darlene That was super helpful Anytime Emma and thanks For joining me today, My pleasure Darlene Stay safe and healthy